Whether you’re a beginner to the violin or you’ve been playing for a while, tuning your violin is something that you will always need to do. Knowing how to tune your violin properly will help you tune your violin without issue and as efficiently as a professional musician would.
If you need help tuning your violin, have no fear! In this article, we will be discussing the best way to tune your violin, the important parts of the violin you will be using during the tuning process, and giving you some pro tips on efficient tuning. Read on for everything you need to know!
Understanding the Parts of Your Violin

The components that make up your violin are important to understand, as they will help you as you tune your violin and continue to improve your playing. While these aren’t all of the components of a violin, these are the most important to know about when tuning your instrument.
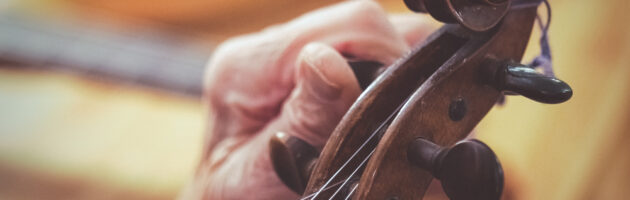
- Pegs: These are the large black button-shaped objects located just beneath the scroll at the top of the violin. The strings are wound around them, and they are used for tuning.
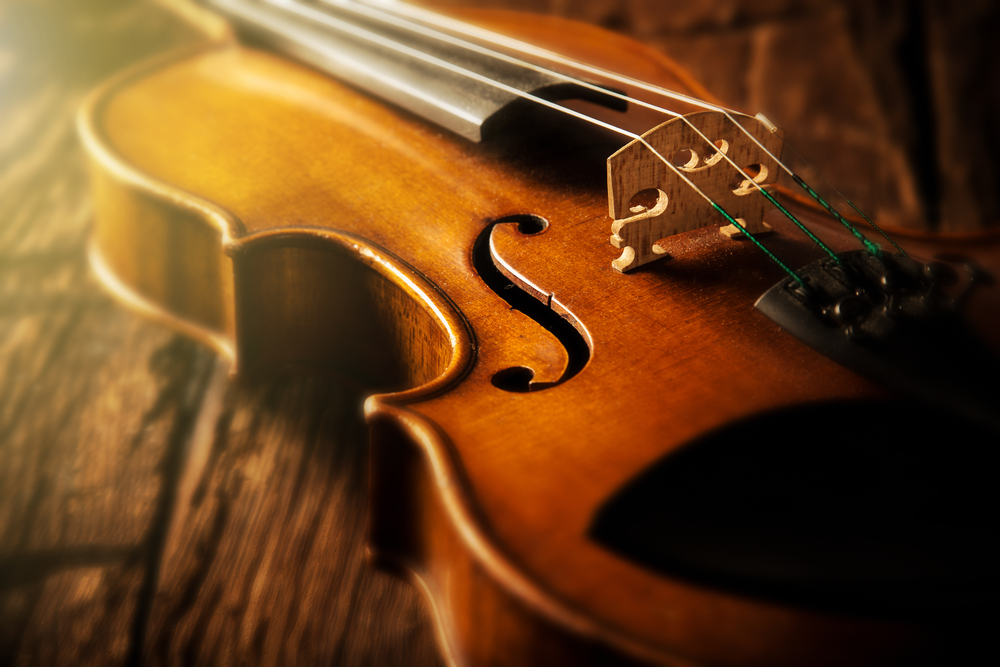
- Fine Tuners: The fine tuners are located below the bridge at the bottom of the violin.
- Strings: The strings must be plucked while tuning, and matched to the reference note. They go in order from G to D to A to E, starting from the leftmost string.
Though these are the essential parts to know for tuning, you can check out this video that introduces all of the parts of the violin so you can understand how to handle them safely.
Tools to Help You Tune Your Violin
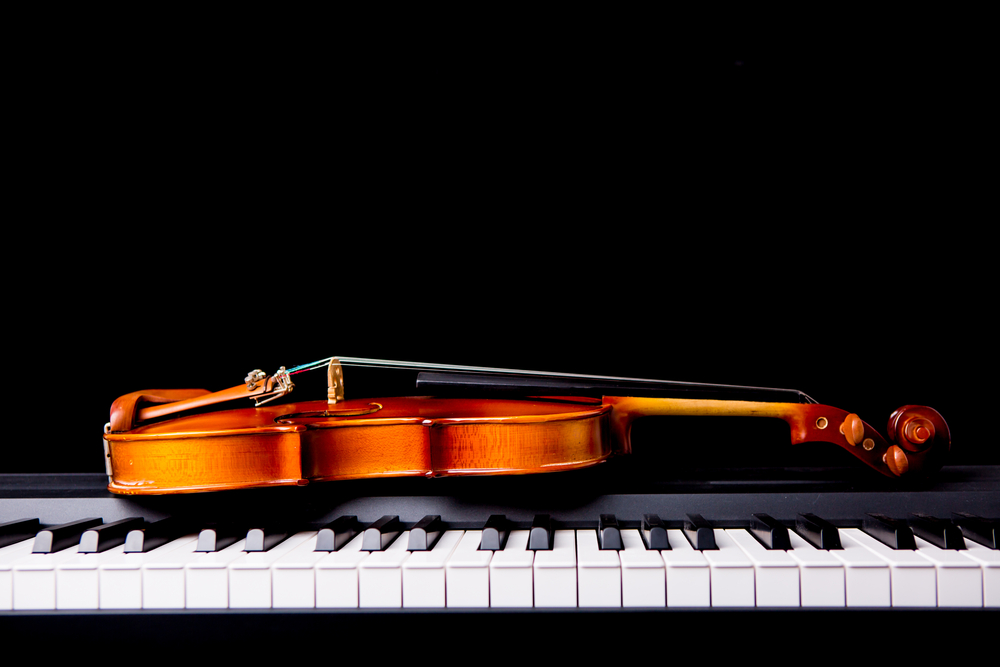
Unless you are gifted with perfect pitch, you will likely need another instrument or a violin tuner to help you out. A piano or keyboard can help you find the guiding note you are trying to adjust your violin strings to, or you could use an online video that plays the guiding notes for you.
You can also invest in a violin tuner; this is an item that will measure the frequency of the note you play when plucking the string, telling you if the note is in tune or not. Whichever item you use is up to personal preference and which one will be easier for you.
Tune Your Violin With the Pegs
If your violin is very out of tune and needs large adjustments, you should start your tuning process with the pegs. This will help you make adjustments easily, which you can then perfect with the help of the fine tuners.
- To get started, place your violin on a smooth, solid surface or hold it firmly in your hands. You should have easy access to the strings so you can pluck them while playing the guiding note on your keyboard or listening to it on a video. If you are using an electric tuner, attach this to your violin according to instructions.
- Start with either the highest or lowest string, so either the G or E string. Listen to the guide note, then pluck the string to compare it.
- Turn the pegs on the violin clockwise (right) to make the note sound higher, or counterclockwise (left) to make the note sound lower. Make sure to do this process slowly, as rushing or turning the pegs too tight may break the violin strings.
- Listen to or play the guide note or examine your electric tuner while plucking the string. Move the peg in the corresponding direction as you listen, turning it slowly until the note you are plucking and the guide note sound similar.
- Repeat this process for all of the strings, making sure that the plucked note sounds as close as possible to the guiding note. However, it doesn’t need to be perfect or exactly spot on, as this is where fine-tuning will come in.
- Once you have tuned all four strings, go back through them and make any final adjustments. If you are happy with the sound, you can move on to tuning with fine tuners to ensure that the sound of the notes is perfect.
When tuning with pegs, it can help to loosen the fine tuners all the way first. You can do this by turning the knob of the fine tuner all the way to the left, until it is barely in contact with the level holding the string.
Once the fine tuners are in place, you can make your adjustments with the pegs and then move on to finalizing the sound with the help of the fine tuners.
Tune Your Violin With Fine Tuners
Fine tuners are perfect for making small adjustments in the tone of your violin strings or for finishing up a tuning job that you started with the pegs.
- Before you start tuning, make sure your violin is on a flat, sturdy surface, or get a firm grip on it. Make sure you can see the electric tuner, if you are using one, or that you have something playing the guiding notes.
- Like when tuning with the pegs, you should start with the lowest or the highest string, so either G or E. Locate the G string and the corresponding fine tuner at the bottom of it.
- Listen to the guiding note and then pluck the string. If you want to make the sound of the string higher, turn the finer tuner clockwise. If you want to lower the sound of the string, turn the fine tuner counterclockwise.
- Repeat the plucking, listening, and fine-tuning process until the sound of the string sounds similar to the guiding note. Remember to have patience during this process and turn the fine tuner slowly to avoid damage to your violin.
- Work your way down the rest of the strings using the same method; listen to the guiding note, pluck your string, and fine-tune.
- Once all of the strings have been tuned to sound the same as the guiding note or corresponding to the electric tuner’s indications, go back through them and give another listen. If the sound matches the guiding note, you are done tuning. If it is still a little bit off, repeat the tuning process again, moving slowly but surely until the correct tone is achieved.
If you need help understanding how to use an electric tuner during either of these tuning processes, you can check out this guide here. Depending on the tuner you use, it can take a little bit of a learning curve to understand how to use it for tuning your violin.
You should also know that if you start tuning with the fine tuners and run out of space to turn them, but your violin is still out of tune, you probably need to tune using the pegs first. Fine tuners are for minor adjustments, and pegs are for making large tone adjustments.
Set the fine tuner knobs back until they are loose and then start tuning with the pegs according to our instructions above. Once you’ve completed those steps, you can return to the fine tuners and fix up the tone as needed until the string is perfectly in line with the sound of the guiding note.
How Often Do Violins Need Tuning?
You should be checking the strings of your violin every time you take it out to play. You may not need to tune it every time, but making small adjustments each time you hear something wrong with the sound of the violin can prevent you from ending up with a badly out of tune violin that takes a lot of time to fix up.
These general tuning rules can help you determine exactly how often you need to tune your violin; the frequency can be very subjective depending on how you treat your violin and how often you play it.
Pro Tips for Violin Tuning
These pro tips can help you out when it comes to tuning your violin as smoothly as a professional would.
Start Slowly
Patience is key when it comes to tuning your violin. Start your adjustments slowly to give yourself enough time to listen to the note and make adjustments. You don’t want to rush through it, as this will make it more difficult for you to find the correct sounding note.
Watch Your Strings
It can be very easy to break a string when tuning, especially if you are tuning with the pegs. Going slowly can help lower the risk of breakage, but you should also keep an eye on your strings while tuning to make sure that they aren’t being pulled too tight.
If strings break on you once in a while, it isn’t a big deal, but if strings are constantly breaking, you may have other violin issues on your hands.
Approach From a Lower Note
When tuning your violin, you should always be approaching the targeted note from a lower sound. This will prevent your violin strings from being stretched too tight. It is also easier to loosen your violin string and tighten it up to the correct sounding note than to work the other way down.
Push the Pegs
Pegs on string instruments need to be pushed in a little bit in order to turn them. This will also help them stick in place and hold their pitch as soon as you release them. If you find you are having trouble turning the pegs or adjusting the tone, push the pegs in with light pressure as you are tuning.
Make sure not to press too hard or try to force the pegs a direction won’t go, as this will likely end up damaging your violin.
Try Relative Tuning
If you are more experienced with the violin, you may be able to try relative tuning instead of tuning using a guiding note. The theory of relative tuning involves making sure the A string is tuned.
From there, you play the A and D strings together, listening to how the fifth interval sounds. Based on the sound, you can tune the D string higher or lower depending on what needs to change to create a harmonious fifth interval.
Once the A and D strings are tuned together, you can repeat this process with the A and G strings and then the A and E strings.
For an example of relative tuning, you can check out this video.
Tune Your Violin for Musical Harmony
Tuning your violin is an essential part of learning to play the instrument. It may seem a little intimidating to learn at first, but as long as you move slowly and make sure to take your time when tuning your instrument, you should have this skill set mastered in no time and your violin sounding as fantastically in-tune as possible.