
Do you make voice recordings or spend time talking with others over voice chat? No matter what you use your mic for, being able to hear your voice over your mic is important.
So, if you find that your mic is quieter than usual, then it’s time to figure out what’s causing the issue. Let’s get to it!
Inspect Your Mic
Sometimes problems have the simplest solutions. Before we begin tinkering with settings or start making hasty conclusions, let’s take a look at the mic itself and make sure it’s properly set up.
Ideal Mic Placement
The first thing you should consider if your mic is too quiet is where it’s positioned. Obviously, having the mic too far from your mouth can impede its ability to pick your voice up properly.
Ideally, you want the mic as close to your mouth as possible, without having it close enough to pick up your breathing.
On Windows, you can use a program like Audacity to record your voice and see how loud it sounds in different positions. You can also navigate to your microphone’s properties in the Sound Control Panel and check the ‘Listen to this device’ option to hear what your mic is picking up in real-time.
If your microphone still isn’t loud enough, no matter where you place it, then it’s time to give your mic a quick inspection.
Inspect the Volume Control on Your Mic
Microphones like the Blue Yeti USB mic feature a volume knob on the mic itself. Many headsets also feature a similar option. If your mic has a volume knob, check to make sure it’s turned up all the way.
Check the Connection
If you’re sure you’ve got the mic close enough to your mouth and the volume is all the way up, it’s time to check the connection.
Unplug your mic and blow some air into the input port to clear any dust that could be interfering with the connection. Next, plug your mic back in, and make sure it’s plugged in all the way.
Check for a Faulty Cable
You’ll also want to verify that you aren’t dealing with a faulty cable, especially if your mic is hardwired.
Hardwired Cables
Hardwired cables typically start to fail near the connector and where the wire runs into the mic or headset. Test the mic while jiggling the cable in those spots – if it starts to cut in and out, then your issue is a bad cable.
Wireless Headsets
For wireless headsets, you’ll want to start by checking the path between the headset and receiver. If there are obstacles between the two, you’ll want to create a clear path between them to reduce interference.
If your headset has the option to use a wired connection, you’ll also want to try that. Because wireless standards like Bluetooth are not as optimal for audio quality as a direct connection, tethering your mic with a wired connection can rule out any wireless interference. It can also provide superior sound quality.
Try a Different Input Port
Another way to help pinpoint where the issue lies is by trying different input ports. If you’re on a device with multiple auxiliary input ports, such as a desktop computer, try using a different one.
For USB mics and headsets, try other USB ports. And speaking of USB ports, if you’re on a laptop computer with only one input port, you can always pick up a USB sound card.
Try a Different Mic or Device
Another great way to troubleshoot a quiet mic is by swapping hardware. Have you got another computer or mic lying around? If so, use it to help you determine where the issue lies.
If your original mic is too quiet, but your backup works fine on the same computer, then your problem is likely the mic itself. Conversely, if your mic works on other computers, then you likely have an issue with your configurations or drivers.
Quiet Mic in Windows 10?
If you’ve ruled out a hardware issue, you’re likely dealing with some kind of software issue. This is most often the case on Windows machines. Since there’s a lot to cover, let’s get straight into it.
Make Your Mic the Default Communication Device
Make sure the mic you’re using is the default communication device in Windows. This issue is most common in laptops, as they come with a built-in mic that Windows may choose to default to.
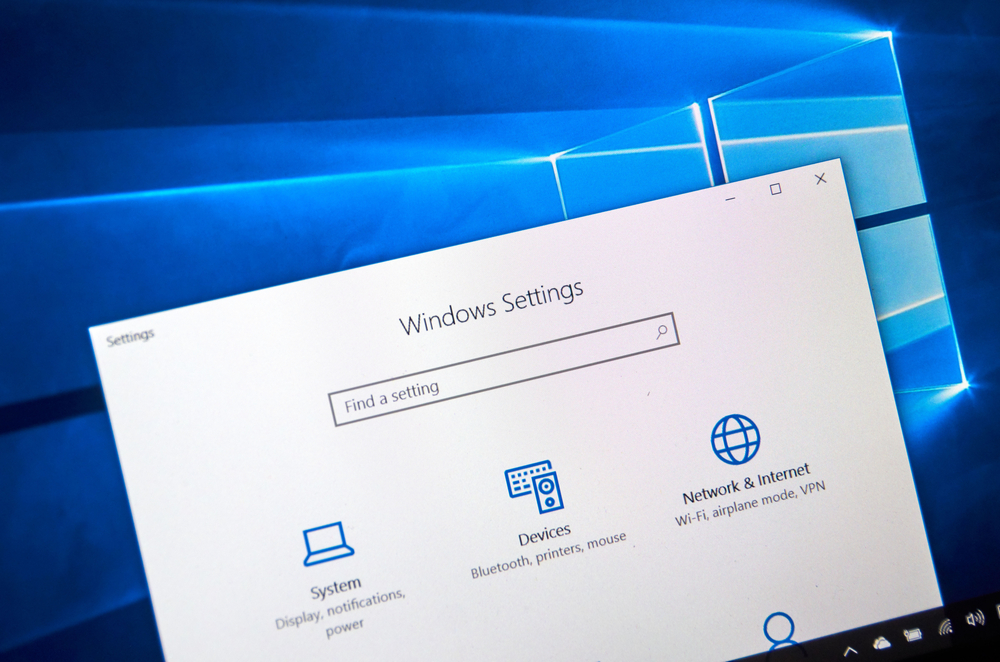
To make sure your computer is using the right microphone, go to the Start menu, click on ‘Settings,’ and then ‘System.’ On the left side of the window, go to ‘Sound,’ and then find ‘Sound Control Panel’ on the right side under ‘Related Settings.’
Alternatively, you can get to the Sound Control Panel by right-clicking the volume icon in your taskbar tray then clicking on ‘Sounds.’
Once you’re in the Sound Control Panel, go to the ‘Recording’ tab and find your microphone. Right-click your mic, then click on ‘Set as Default Communication Device.’
If you’re sure your mic is the default communication device, and it’s still quiet, then it’s time to check your microphone’s settings.
Check the Volume of the Mic
While you’re in the Sound Control Panel, you can quickly check and tweak many of your microphone’s settings. First, start by right-clicking your microphone in the Sound Control Panel and go to Properties.
Head to the Levels tab and turn your microphone volume up to 100 if it’s not already. While you’re here, you may want to play with the microphone boost option as well.
Microphone Boost
Just below the volume slider is a built-in microphone booster. This will increase the sensitivity of your mic, thereby increasing the input volume. Just keep in mind that the higher you set the sensitivity, the more your audio quality will suffer, and it may start to pick up more ambient noise in your room.
Check Your Program’s Audio Configurations
Programs that utilize your microphone will often have microphone volume controls built into them. If this is the case, you’ll want to make sure the volume is all the way up in your program’s settings.
Some programs also feature automatic volume adjustment settings that can hijack your microphone’s volume. Skype and TeamSpeak are both examples of such programs. Check the audio settings of the program you’re using for anything related to automatic volume adjustment, and disable it if it’s on.
Prohibit Apps From Taking Control of the Mic
If you’ve turned your mic up in the Sound Control Panel, only to find that it’s been turned down automatically, then you might need to take prohibitive action.
Under the Sound Control Panel, you’ll find an ‘Advanced’ tab. Go to that tab, uncheck ‘Allow applications to take exclusive control of this device,’ and click ‘Apply.’
This should stop all apps from taking control of your microphone’s volume. This is the best option if the problem persists after you’ve disabled automatic volume adjustment settings in your program or if you don’t know which program is messing with your microphone’s volume settings.
Check for Malware
For nearly every computer problem imaginable, people tout this advice as if it’s a universal remedy. Yet as silly as it seems, malicious software can actually cause issues with your microphone.
A simple scan with a free malware scanner like Malwarebytes should clear up any potentially malicious software on your computer, and may help clear up the issue. If nothing else, you’ll at least rule out malware as the cause.
Reinstall or Update Your Audio Drivers
If nothing has worked so far, and you’re sure your mic and computer both work, then the issue may lie in your drivers. Drivers are pieces of software that interface directly with your computer’s hardware to enable their functionality. Faulty drivers aren’t all that uncommon and can cause a whole host of issues, from system crashes to malfunctioning hardware.
Don’t worry if you’re not a tech wiz. While reinstalling or updating your drivers might seem a little daunting, the process is fairly simple and won’t take too much time.
Try Windows Drivers
The first and easiest approach to reinstalling or updating your drivers is by using drivers provided by Microsoft. To reinstall your drivers, start by simply right-clicking the Start menu, then click on ‘Device Manager.’
Uninstallation
In device manager, go to ‘Audio inputs and outputs’ and expand it. From here, you’ll want to uninstall each of the devices listed by right-clicking on a device and choosing ‘Uninstall device.’
If you’re having trouble getting your driver to uninstall, you might consider doing a clean uninstallation of your audio drivers. For this, you’ll need DDU. This utility removes stubborn and problematic display and audio drivers.
After you uninstall your audio drivers, restart your computer. When the computer boots back up, it will load up the default drivers included with Windows.
Driver Updates
To update your drivers, you’ll want to choose ‘Update drivers’ on the right-click menu for each device in the device manager.
From here, you can either choose to search for the driver manually if you have them locally on your computer, or let your computer automatically search for you. Choosing the automatic option will scan your computer and then prompt you to search Windows Updates for an updated driver.
Once you’ve successfully updated your audio drivers, restart your computer. There’s a good chance this will fix the issue if your drivers were buggy, or if the issue seemingly came out of nowhere. However, if this doesn’t help, you may need to grab the latest driver from the manufacturer’s site.
Download the Latest Drivers From the Manufacturer
The default drivers that come with Windows are often old and outdated. And while Windows Update can find newer drivers for most devices, these aren’t always the most up-to-date drivers for your computer. Windows has also been known to push out buggy drivers from time to time. Because of this, you’ll want to grab the latest drivers from the manufacturer of your audio interface.
To start, you need to figure out the make and model of your audio interface. If you’re like most people and use the computer’s onboard audio interface, then you’ll need to refer to the make and model of the motherboard in your computer. There are a number of ways you can find the make and model of your motherboard, as well as other audio devices.
You may also need to grab drivers for your mic. Most microphones are plug and play devices, but some mics do have dedicated drivers that are required to fully utilize all of their features.
Head to the manufacturer’s site, search for drivers for your make and model and choose the latest driver compatible with your operating system. Most drivers are easy to install and come neatly packaged in an installer that walks you through the process step by step.
Once you’ve finished updating your drivers with the latest ones from the manufacturer, reboot your computer.

Mic Still Quiet? You May Need a New One
When you’re dealing with a quiet mic, the solution often lies in properly configuring your computer and ensuring you have a solid connection. But even the best microphones have a finite lifespan. If you’ve tried everything above to no avail, it might be time to consider a new mic.
Testing 1, 2, 3
Since clarity is key for recording and voice chatting, you don’t want your mic too quiet. Dealing with a quiet mic is a frustrating problem with any number of possible causes. But when you know how to properly troubleshoot the issue, you can get your mic back in working order in no time!